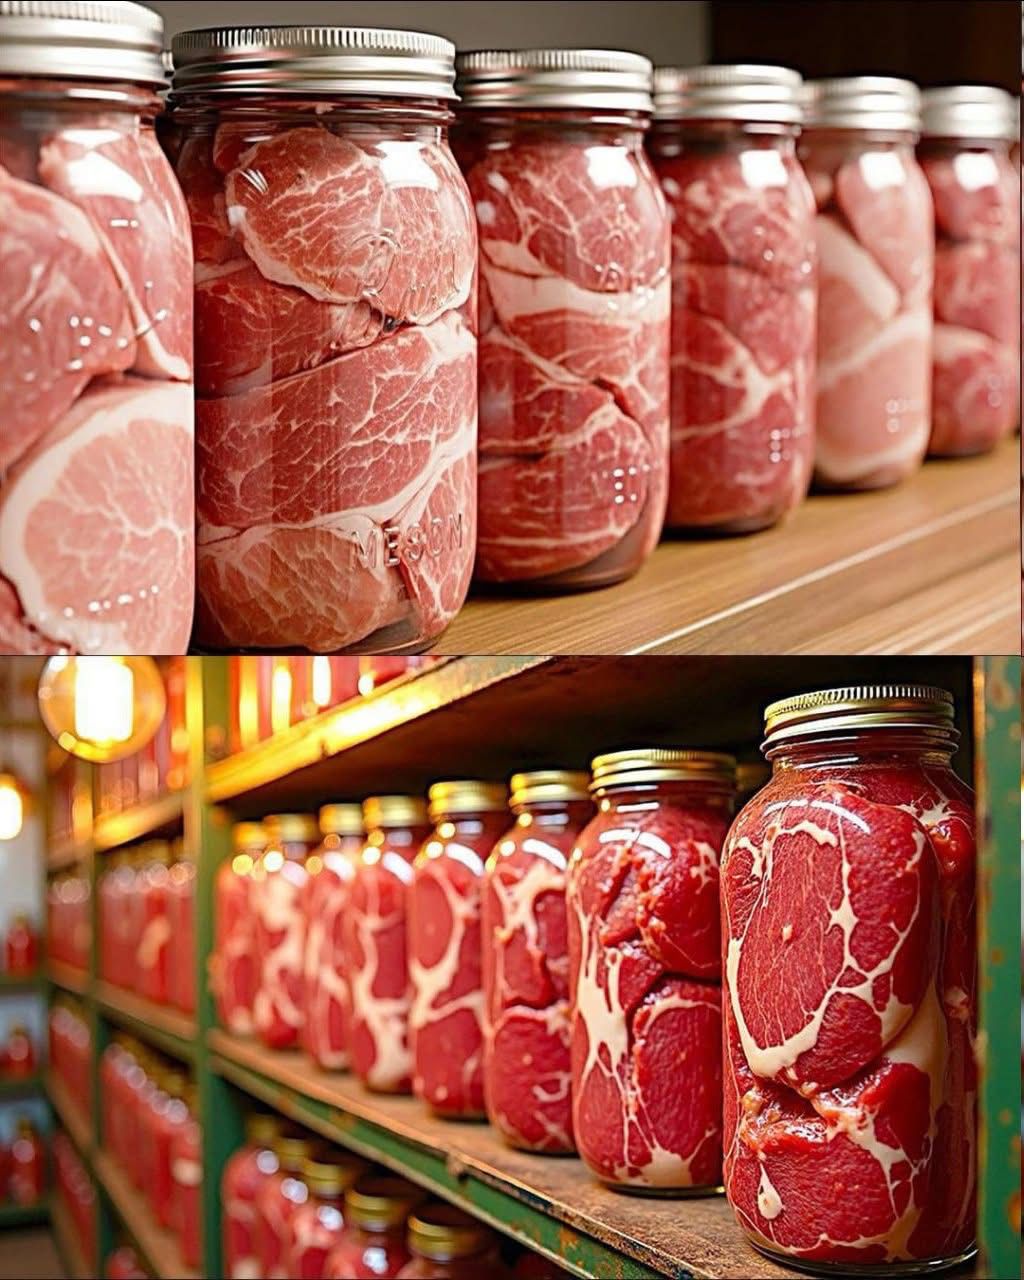
🥩🍚 How to Preserve Meat and Rice in Jars: A Delicious Homemade Canned Meal That Lasts for Months
Introduction
Imagine opening your pantry months from now and finding perfectly preserved jars filled with tender meat and fluffy rice, ready to heat and serve. Canning your own meat and rice not only saves money and time, but it also provides comfort, convenience, and food security. With proper techniques, you can safely preserve complete, flavorful meals that taste homemade — even long after cooking day.
This guide walks you through the art and science of canning a delicious meat-and-rice meal that’s shelf-stable for months — nourishing, practical, and deeply satisfying.
Origin and Cultural Significance
Preserving meat and grains in jars is a time-honored tradition rooted in rural and agricultural communities worldwide. Long before refrigeration, people relied on canning, salting, drying, and fermenting to ensure a steady food supply through harsh winters and poor harvests.
In Europe, Asia, and North America, pressure canning became the go-to method for preserving low-acid foods like meat, beans, and rice. In many cultures, these jarred meals represent self-reliance, sustainability, and family heritage — passed down from grandparents who valued resourcefulness and preparation. Today, canning continues to connect us with those traditions, offering both practicality and a sense of pride in homemade food that endures.
Ingredients and Quantity
(Makes about 6 pint-sized jars or 3 quart-sized jars)
| Ingredient | Quantity | Purpose |
|---|---|---|
| Lean beef, chicken, or pork (cut into cubes) | 2 pounds (900 g) | Protein base |
| Long-grain white rice (uncooked) | 1 ½ cups | Adds body and starch |
| Onion, chopped | 1 cup | Adds depth and sweetness |
| Carrot, diced | 1 cup | Adds color and mild sweetness |
| Bell pepper, chopped | ½ cup | Adds flavor and texture |
| Salt | 1 ½ teaspoons | Seasoning and preservation |
| Black pepper | ½ teaspoon | Flavor balance |
| Garlic (minced) | 2–3 cloves | Aromatic base |
| Broth or water | Enough to fill jars (approx. 4–5 cups) | Liquid for cooking and canning |
| Cooking oil (optional) | 1 tablespoon | Helps brown meat before canning |
Optional Additions
- Spices: Paprika, thyme, rosemary, or bay leaves for a richer flavor
- Tomato paste (1 tablespoon per jar) for a hearty, stew-like result
- Soy sauce or Worcestershire sauce for a savory depth
- Green peas, corn, or mushrooms for added variety
- Brown rice (use with caution; adjust liquid and processing time due to density)
Tips for Success
- Always use a pressure canner. Meat and rice are low-acid foods; only pressure canning ensures safe preservation.
- Leave proper headspace. Maintain at least 1 inch of headspace in jars to prevent overflow.
- Use sterilized jars and lids. Always clean and heat jars before filling.
- Pre-brown your meat. Adds flavor and helps reduce excess fat.
- Do not overpack jars. Rice expands during canning — leave room for it to swell.
- Label jars with contents and date for easy rotation.
- Store in a cool, dark place. Keep jars away from direct sunlight and temperature swings.
Instructions
Step 1: Prepare Ingredients
- Wash and sterilize canning jars, lids, and rings.
- Chop vegetables and cube meat.
- Rinse rice in cold water until the water runs clear.
Step 2: Brown the Meat (Optional but Recommended)
- Heat oil in a skillet over medium heat.
- Brown the meat lightly to develop flavor — do not fully cook.
- Season with salt, pepper, and garlic.
Step 3: Fill the Jars
- Into each pint jar, add about:
- ⅓ cup rice
- ½ cup mixed vegetables
- Cubed meat to fill the jar about ⅔ full
- Add seasonings or sauces as desired.
- Pour hot broth or water over contents, leaving 1 inch of headspace.
- Remove air bubbles by gently stirring with a non-metal utensil.
- Wipe jar rims clean, then place lids and rings fingertip-tight.
Step 4: Pressure Canning
- Place jars in a pressure canner with 2–3 inches of water.
- Seal and process according to jar size and altitude:
- Pints: 75 minutes
- Quarts: 90 minutes
- Pressure: 10–11 PSI (adjust for altitude)
- Allow canner to cool naturally before opening.
Step 5: Cool and Store
- Remove jars and place on a towel, leaving space between them.
- Let cool for 12–24 hours undisturbed.
- Check seals — the lids should be concave and not flex when pressed.
- Label with date and store in a cool, dark place for up to 12 months.
Description
The result is a ready-to-eat, home-cooked meal in a jar: tender chunks of meat, perfectly cooked rice, and savory vegetables all infused with rich, comforting broth. The texture remains hearty, not mushy, and the flavor deepens over time. It’s a shelf-stable, nutritious meal ideal for busy days, camping trips, or emergency supplies.
Nutritional Information (per pint jar)
| Nutrient | Amount |
|---|---|
| Calories | ~400–450 |
| Protein | 30 g |
| Fat | 12 g |
| Carbohydrates | 45 g |
| Fiber | 3 g |
| Sodium | 600 mg |
| Shelf Life | Up to 12 months (properly canned) |
Values vary depending on meat type and seasoning.
Conclusion
Preserving meat and rice in jars is a blend of science, tradition, and comfort. It allows you to create wholesome, flavorful meals that last for months — without preservatives or additives. With just a bit of effort, you can fill your pantry with jars of homemade goodness that are always ready when life gets busy.
Recommendation
Serve your canned meat and rice straight from the jar or heat it gently in a saucepan. Pair with fresh vegetables, salad, or bread for a quick, balanced meal. It’s a fantastic option for busy weeknights, road trips, or power-outage emergencies — nourishing and dependable, just like homemade food should be.
Embracing Healthful Indulgence
Canning your own meals connects you to the heart of real cooking — mindful, sustainable, and full of flavor. You control every ingredient, ensuring nutritious and delicious food free of artificial additives. Each jar represents care, preparation, and the joy of feeding yourself and your loved ones with something wholesome that lasts.