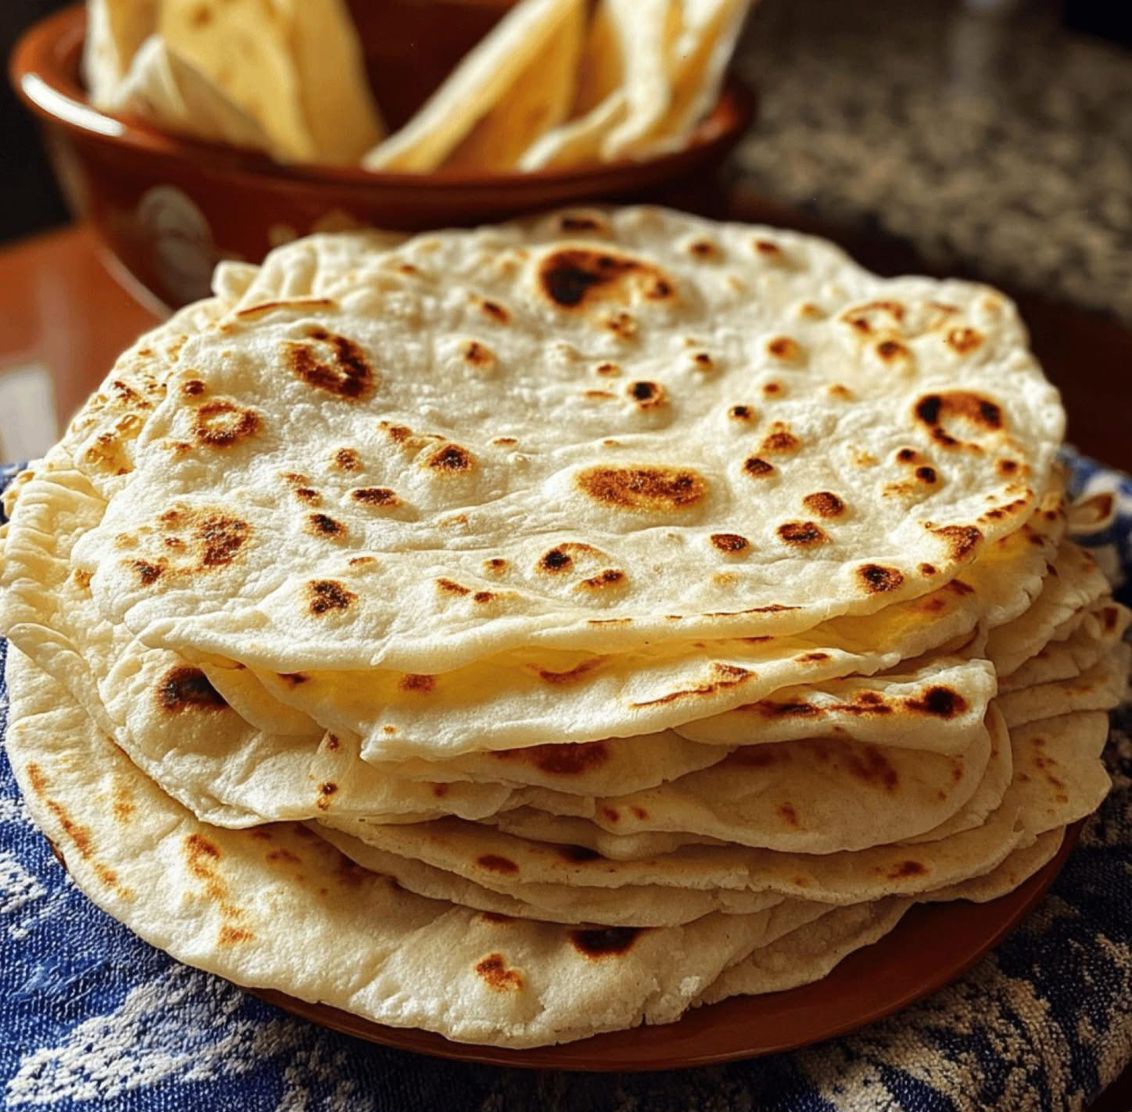
🌮 Homemade Flour Tortillas (My Way) 😋
There’s something special about making tortillas from scratch. The soft, warm, slightly chewy texture and the rich, comforting flavor of fresh flour tortillas are hard to beat — especially when you make them your way! This version uses simple ingredients and doesn’t require any fancy equipment. Whether you use lard (for a traditional taste) or vegetable shortening (for a vegetarian version), these tortillas will turn out soft, foldable, and perfect for tacos, burritos, wraps, or just eating warm with a touch of butter.
📝 Ingredients:
- 2 cups all-purpose flour (plus more for dusting)
- ½ teaspoon baking powder
- ½ teaspoon salt
- ¼ cup lard or vegetable shortening (room temperature)
- ¾ cup warm water (approximately — adjust as needed)
🧂 Ingredient Notes:
- Flour – Use regular all-purpose flour for best texture. You can experiment with whole wheat, but it may change the softness.
- Lard – Traditional Mexican tortillas use lard for flavor and softness. It gives a rich, authentic texture.
- Vegetable Shortening – A good alternative if you’re keeping it vegetarian. Coconut oil (solid form) can also be used.
- Baking Powder – Adds just a bit of puff and softness, but don’t overdo it.
- Salt – Essential to bring out the flavor.
- Water – Use warm (not hot) water to help the dough come together easily.
👩🍳 Instructions (Step-by-Step)
1. Mix Dry Ingredients
In a large mixing bowl, whisk together the flour, baking powder, and salt until evenly combined.
2. Cut in the Lard or Shortening
Add the ¼ cup of lard or shortening to the flour mixture. Use your fingers, a pastry cutter, or a fork to cut the fat into the flour until the mixture looks like coarse crumbs — similar to wet sand or breadcrumbs.
💡 Tip: Take your time with this step. The fat needs to be well distributed to create soft, flaky tortillas.
3. Add Warm Water
Slowly pour in the warm water a little at a time, mixing with your hand or a spoon until a soft dough begins to form. You may not need the entire ¾ cup — or you may need a tiny bit more, depending on your flour.
The dough should be soft and slightly tacky, but not sticky. If it’s too wet, add a tablespoon of flour. If it’s dry, add a few drops of water.
4. Knead the Dough
Transfer the dough to a lightly floured surface and knead it for about 6–8 minutes, until it becomes smooth, elastic, and soft.
💡 Shortcut: You can also use a stand mixer with a dough hook for about 4–5 minutes.
5. Let It Rest
Form the dough into a smooth ball and place it back in the bowl. Cover with a damp kitchen towel or plastic wrap and let it rest for 20–30 minutes.
✨ Why rest? This allows the gluten to relax, making it easier to roll out the tortillas without them springing back.
6. Divide the Dough
After resting, divide the dough into 8 equal pieces (for medium tortillas) or 10–12 for smaller ones. Roll each piece into a smooth ball.
7. Roll Out the Tortillas
On a lightly floured surface, take one dough ball and roll it into a thin circle about 6 to 8 inches in diameter. Don’t worry if it’s not perfectly round — homemade charm!
💡 Tip: Keep the other dough balls covered while you roll to prevent them from drying out.
8. Cook the Tortillas
Heat a dry cast iron skillet or non-stick pan over medium-high heat. No oil needed!
- Place a rolled-out tortilla on the hot pan.
- Cook for about 30–45 seconds, or until bubbles start to form and light golden spots appear.
- Flip and cook the other side for another 30–45 seconds.
- Don’t overcook — they should be soft, not crispy.
Repeat with remaining tortillas, stacking them on a plate and covering with a clean kitchen towel to keep them warm and soft.
🫓 Serving Suggestions:
These tortillas are incredibly versatile. Use them for:
- Tacos 🌮
- Burritos 🌯
- Wraps or quesadillas
- Breakfast tacos with eggs and veggies
- Simply served warm with butter or a sprinkle of salt
- Folded with beans, avocado, grilled veggies, or chicken
🧊 Storage Tips:
- Room Temp: Store cooled tortillas in a zip-top bag at room temperature for up to 2 days.
- Fridge: Keep in the fridge for up to a week.
- Freeze: Yes! Freeze with parchment paper between each tortilla, wrapped tightly, for up to 2 months. Reheat on a dry skillet.
💡 Tips for Perfect Homemade Tortillas:
- Use warm water, not cold — it helps the fat mix evenly and keeps the dough soft.
- Don’t skip the resting time — that’s what keeps your tortillas from shrinking back when rolling.
- Keep the pan hot, but not smoking — too hot and they burn before cooking through.
- Roll the dough thin, but not paper-thin — about 1/8 inch is ideal.
- Don’t overcook — overdone tortillas become dry and stiff.
📖 Fun Fact:
Flour tortillas originated in northern Mexico, where wheat flour was more commonly used than corn. Traditionally made with lard and rolled by hand, they’ve been a staple of Mexican and Tex-Mex cuisine for centuries — and now, people around the world enjoy them with countless fillings and styles.
🧘♀️ Final Thoughts: Homemade Feels Better
Once you make these homemade flour tortillas, it’s hard to go back to store-bought! They’re simple, satisfying, and deeply rewarding. Plus, when you make them “your way,” you control the quality, flavor, and size. Whether you go fully traditional or add a personal twist, this is the kind of recipe that becomes part of your regular kitchen routine.